Category Archives: Class Notes

Color keying and basic color correction

The is a quick introduction to “Compositing”  –  creating a shot out of different elements (green screen footage/ videos or images) and blending them (realistically/ graphic style) together.


Green Screen

Green Screen Vs. Blue Screen:

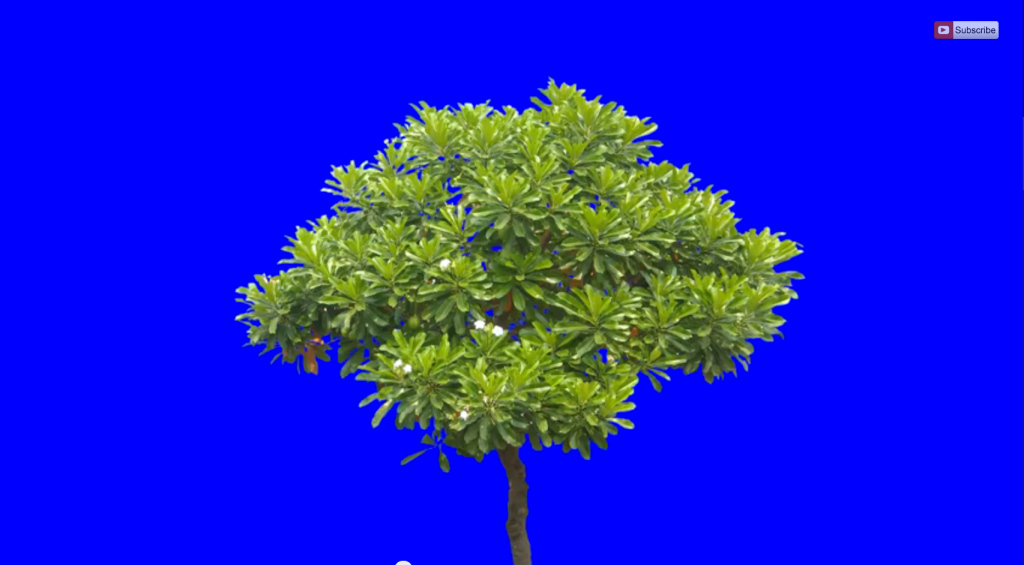
When shooting people green screen usually works better. However, if your subject wears something green ( or when shooting a tree for example) you can always use a blue background.

Screen Shot 2014-11-03 at 9.46.22 AM

Green screen tutorials using “Keylight”:

Best basic tutorial for this subject ( ignore all  the DV footage comments)

http://www.videocopilot.net/tutorial/basic_color_keying/

More detailed tutorial:

After effects CC 2014:


Advanced:

http://www.videocopilot.net/tutorial/advanced_soft_keying/

Advanced excellent tutorial about “Light Wrap”

Advanced “Junk Matt” techniques:


Extra – specific compositing tutorials:

Green Screen from  downloaded stock footage:
Class 04 – Text Animations

Basic text animation tutorial:

Advanced text animation tutorial:

http://archive.divergentshadows.com/dv/ae/notes/text_animation.shtml

Super advanced text animation tutorial:

https://mattrunks.com/en/tutorials/after-effects/amortype


Sync animation with audio tutorial:

Text follow path tutorial:


Swinging text tutorial:


Free fonts resources:

http://www.fontsquirrel.com/


Importing Illustrator layers:
  • After Effects does not recognize Illustrator sublayers as individual layers. In order to import separate layers from Illustrator, make sure you create a new layer for every independent element.
  • After Effects has a slightly different importing menu for Illustrator files than for Photoshop files, though the options remain the same:
    • Choose footage or composition from the top of the menu
    • Choose document size or layer size from the bottom of the menu
    • You can also choose to import an individual layer
Working with Vector Files (Illustrator) — Continuously Rasterize
In order for vector files (files you import from illustrator as well as assets you create directly in After Effects) to maintain sharp edges when scaling above 100%, make sure to turn on the Continuously Rasterize switch.

lesson 06 – 3D Camera ( part 02)

Focal Distance:

Auto focus expression (advanced):

http://motionscript.com/design-guide/auto-focus.html

Lights:


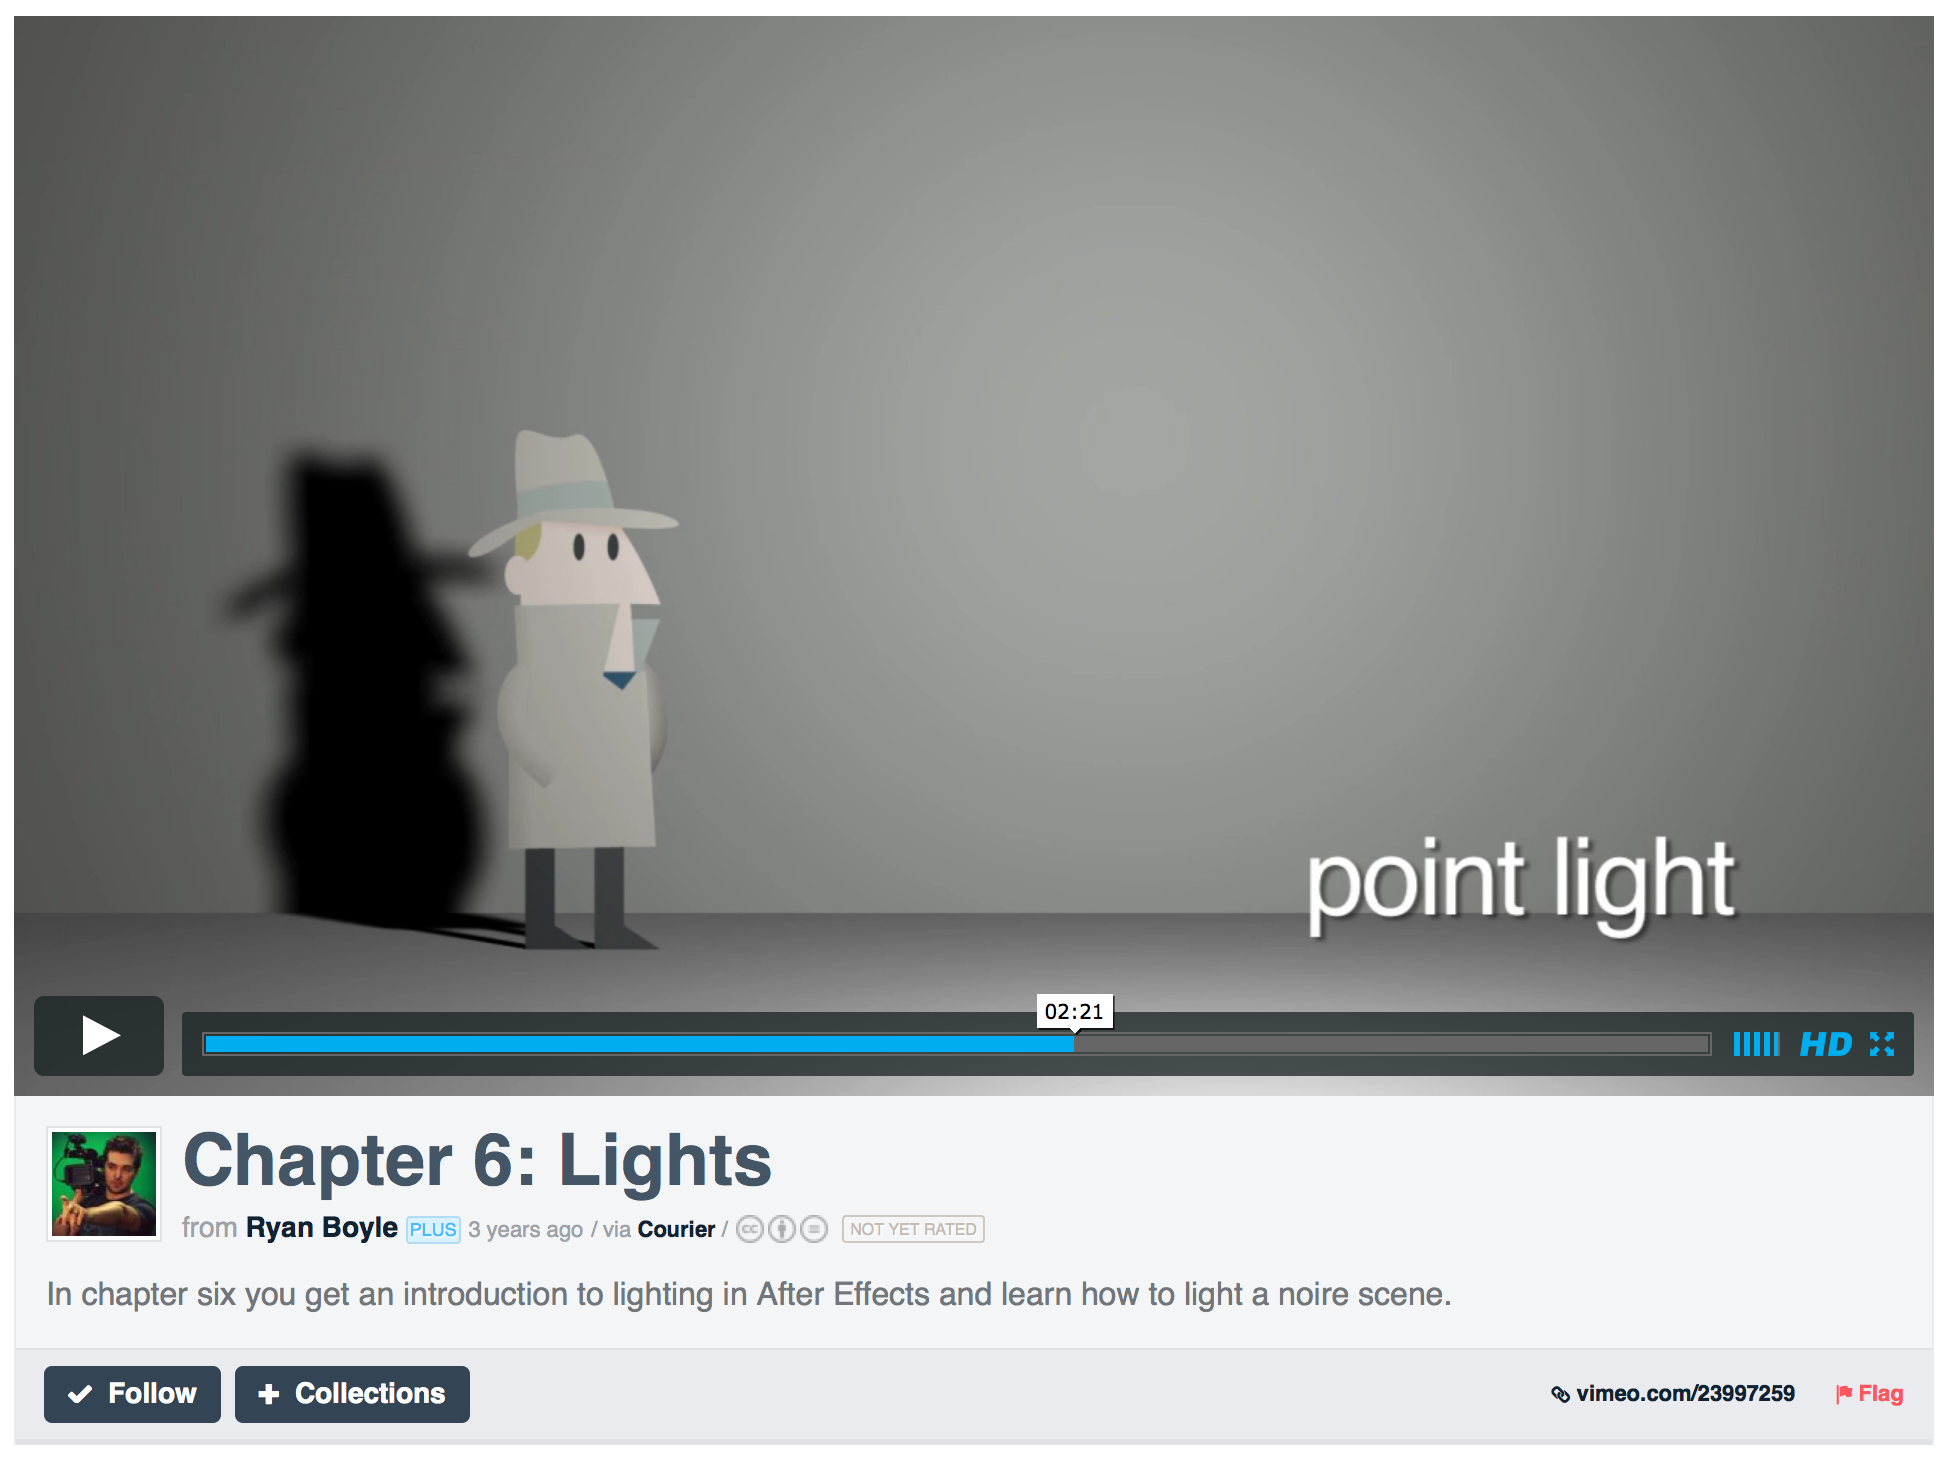
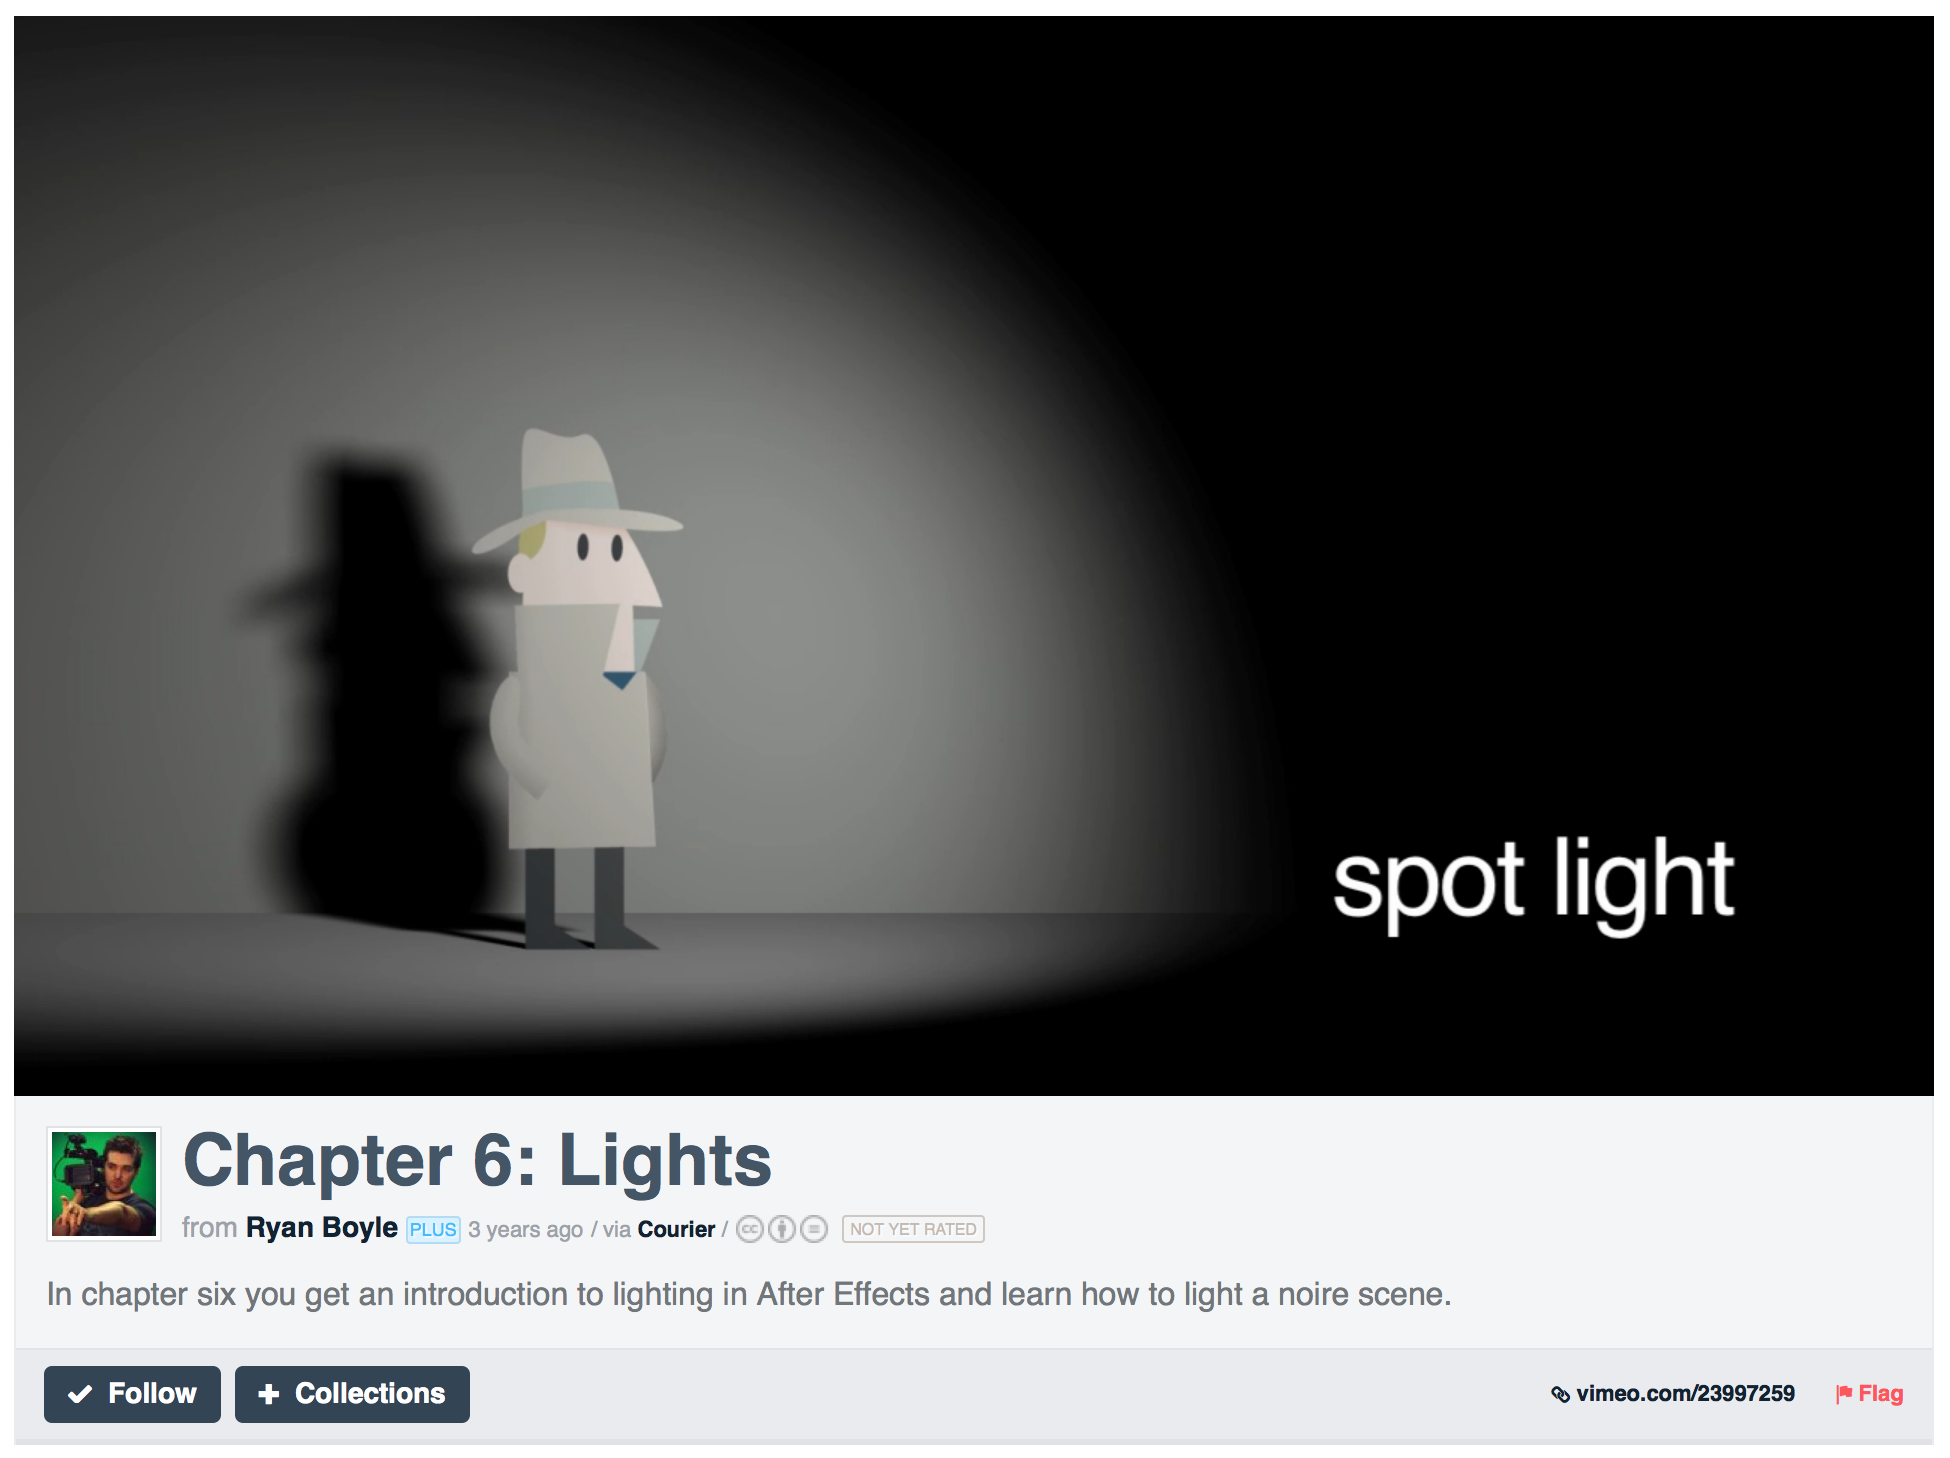
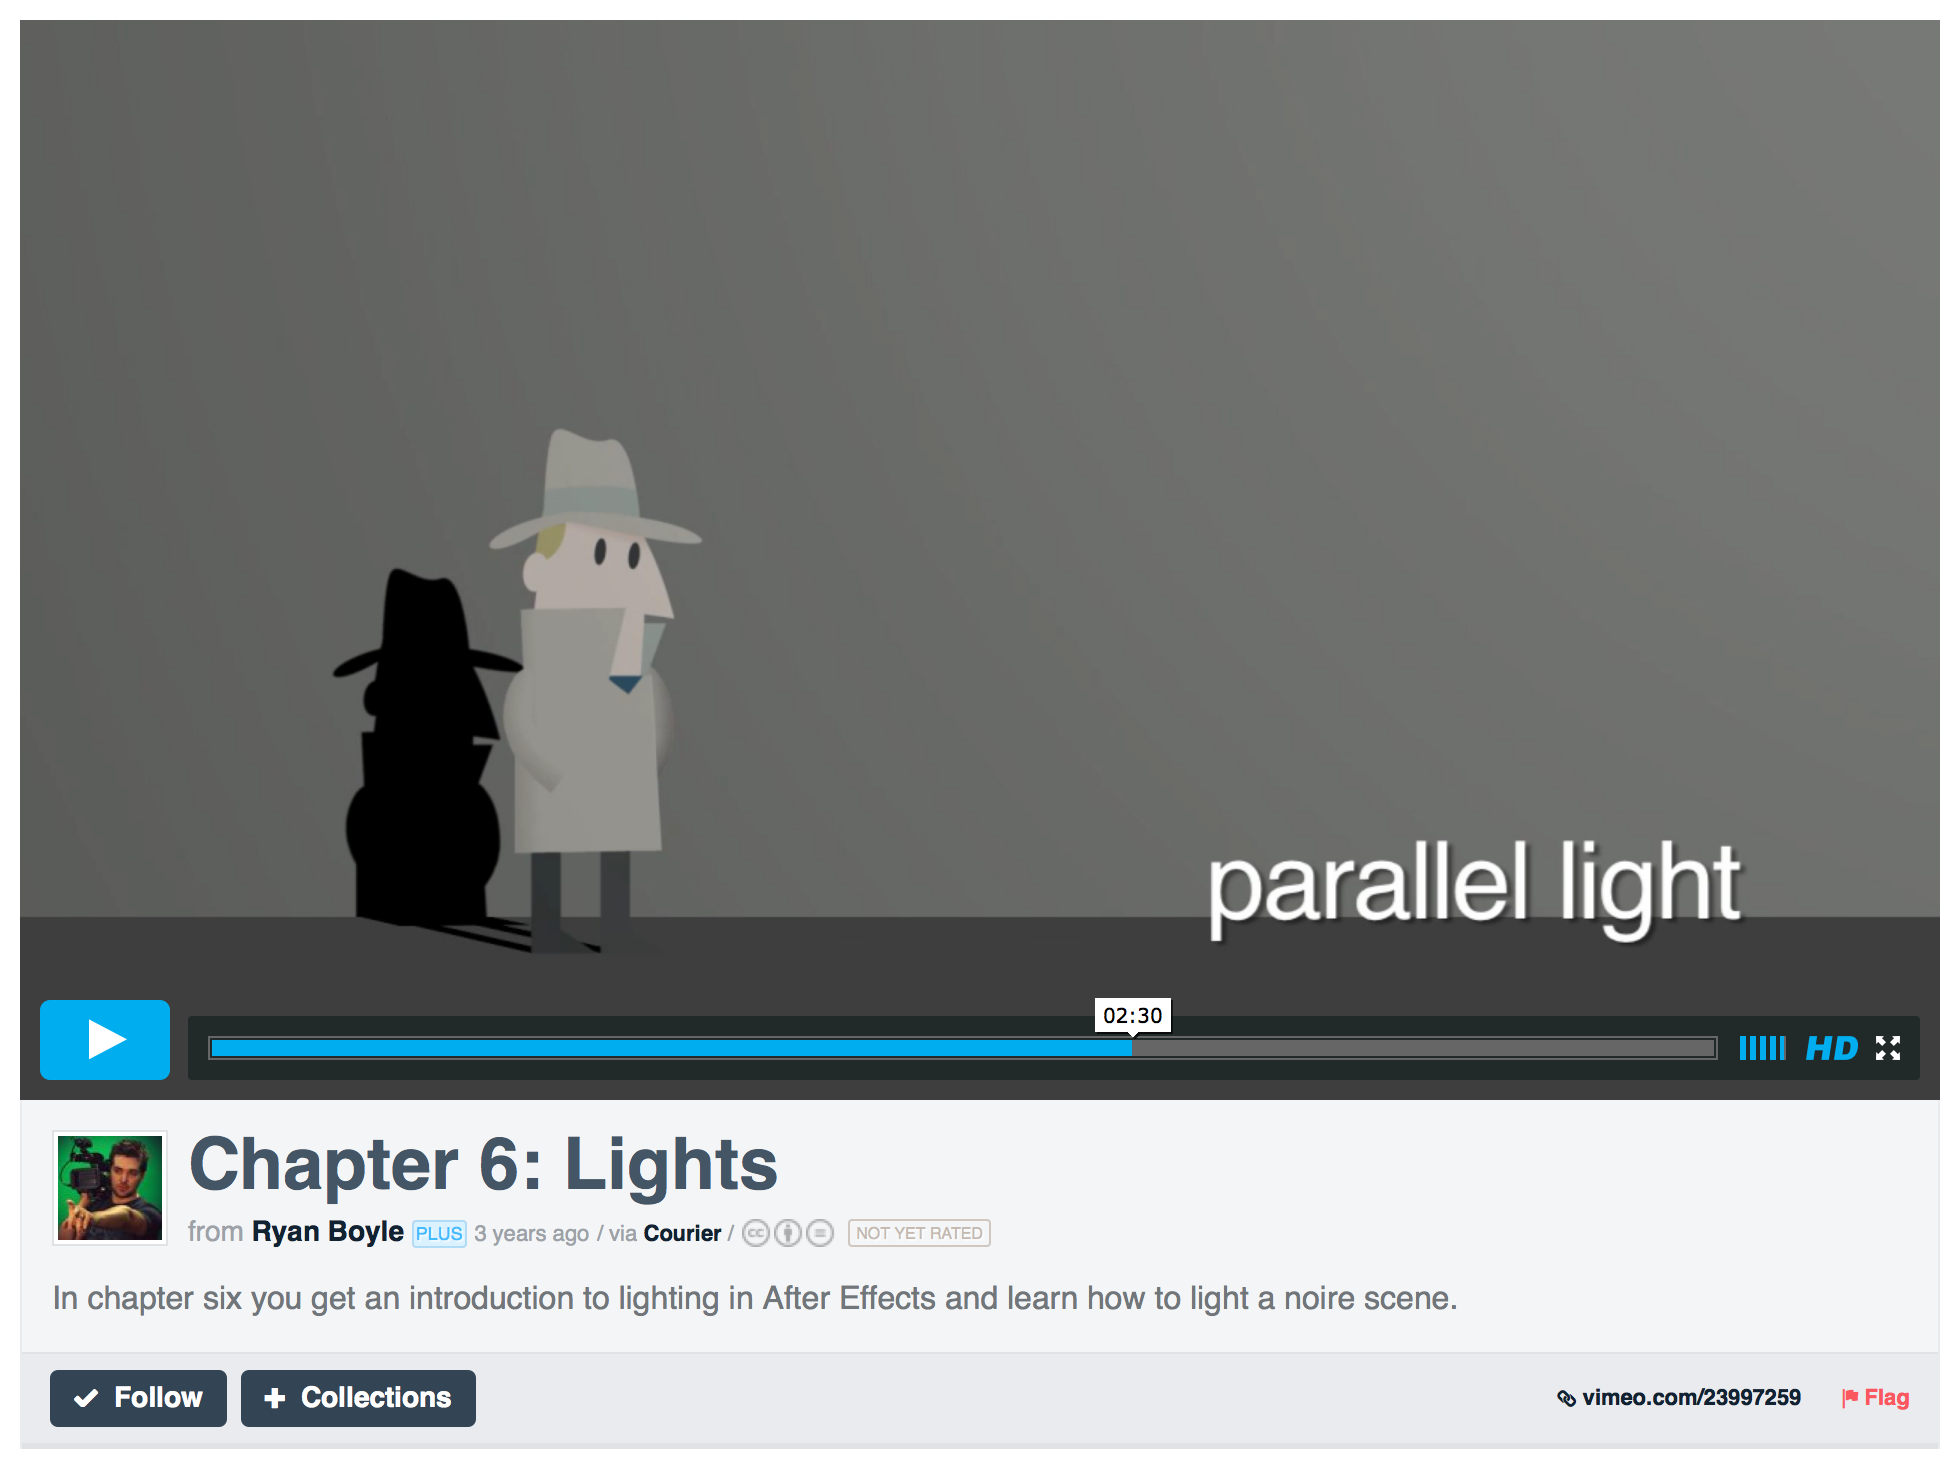
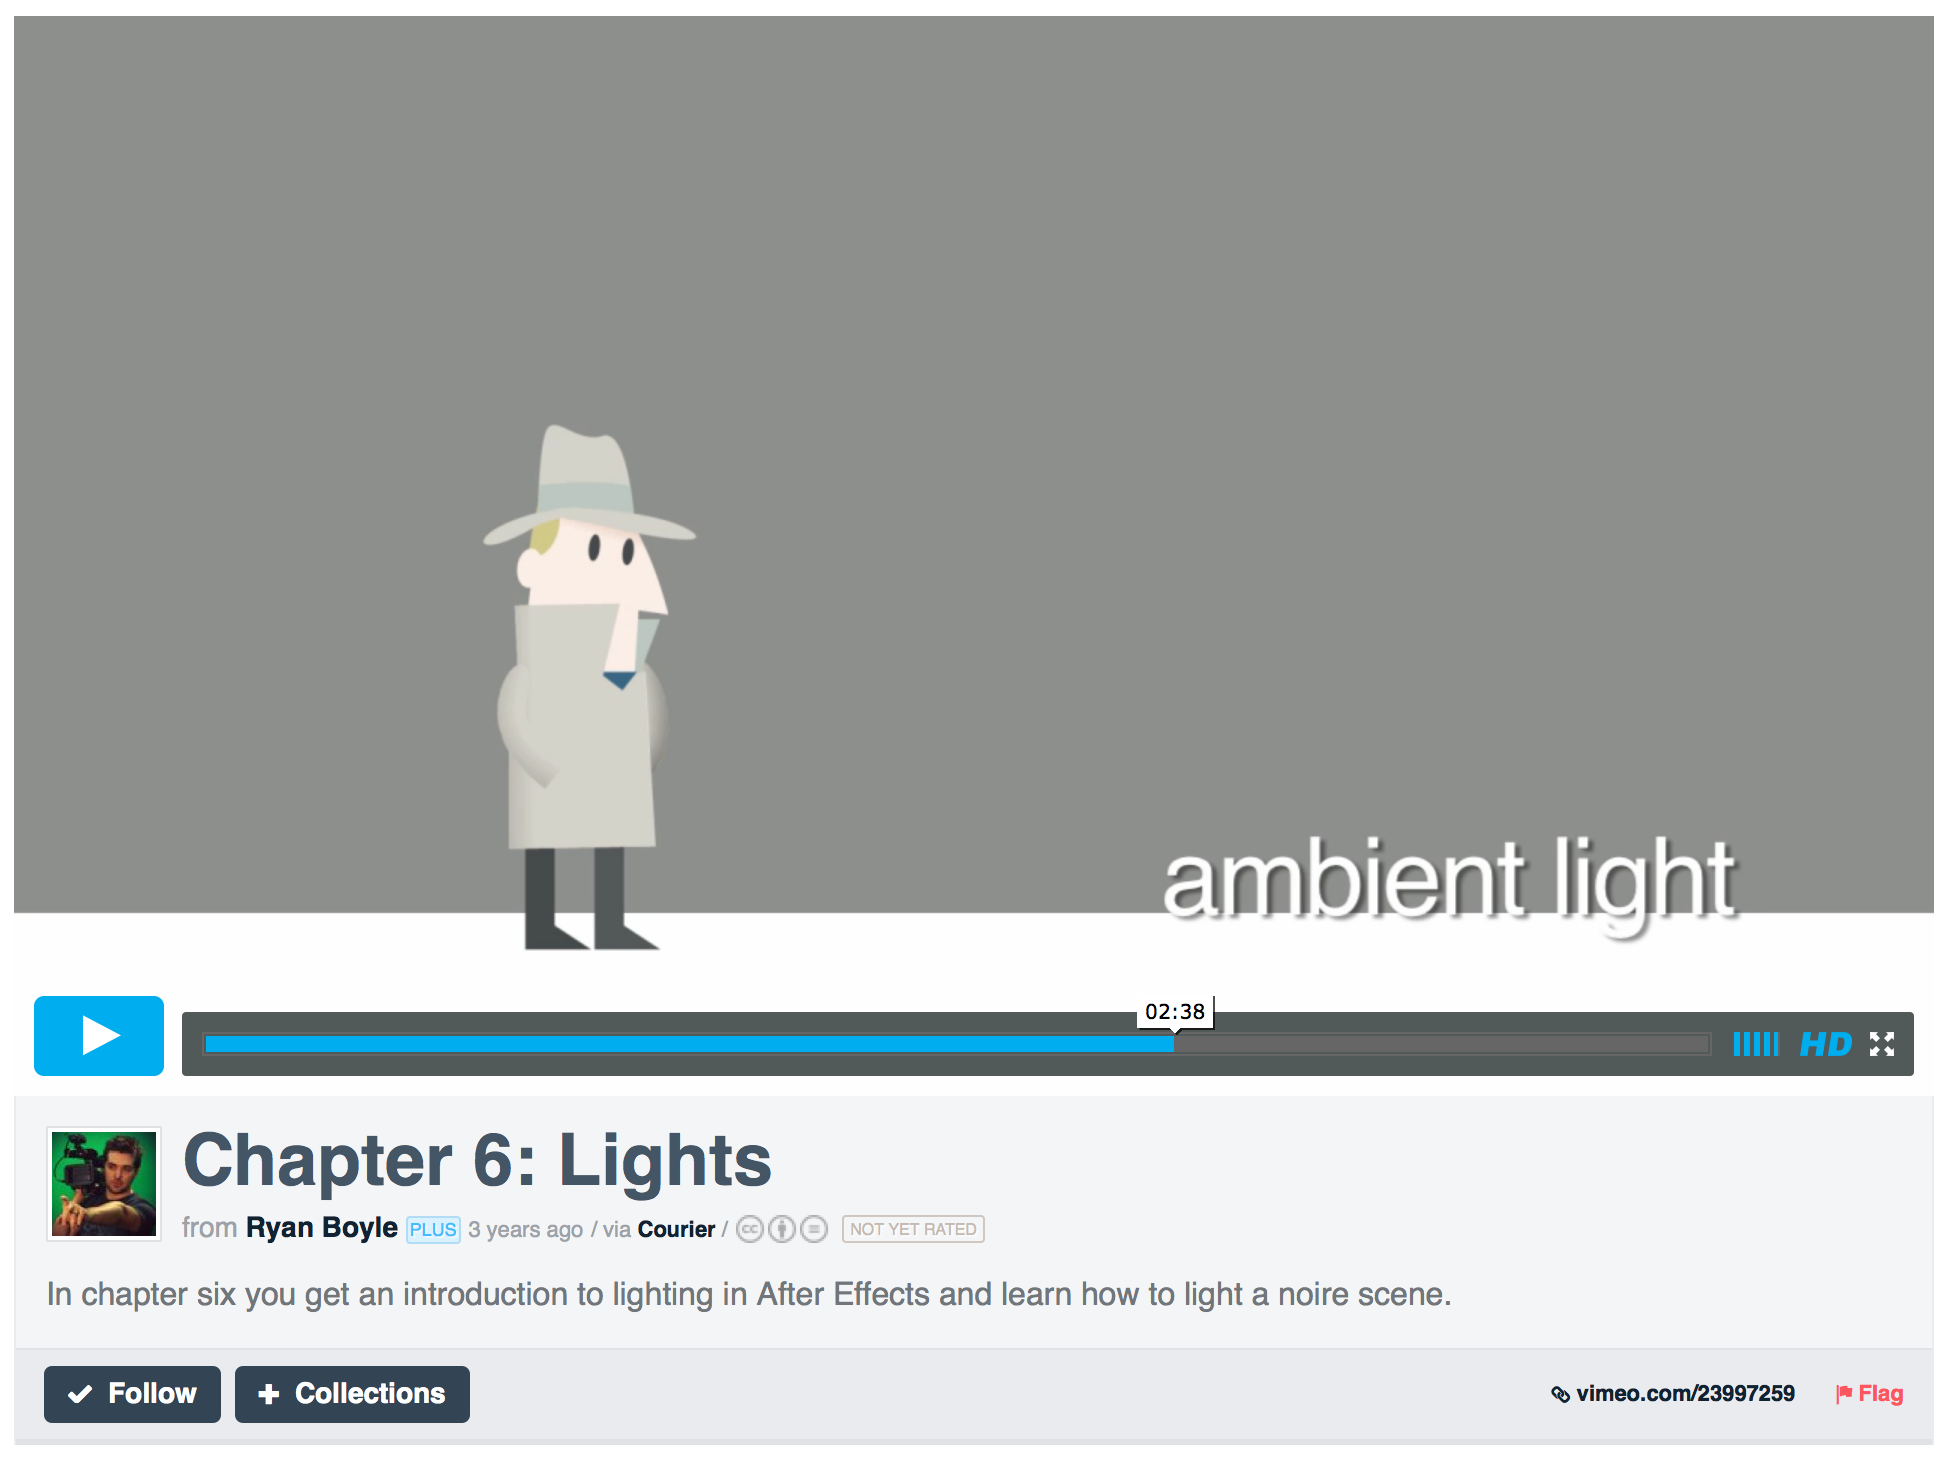
Screen shots from the video above:

Screen Shot 2014-10-20 at 1.53.10 AM Screen Shot 2014-10-20 at 1.53.21 AM Screen Shot 2014-10-20 at 1.54.28 AM Screen Shot 2014-10-20 at 1.54.45 AM

Materials:

 http://tv.adobe.com/watch/learn-after-effects-cc/introduction-to-3d-material-options-environment-layers/

Here are a couple of other advanced techniques to build a 3d scene:

Vanishing point:

( Thanks Hyo Bin for this tutorial)


Camera Mapping:

 http://www.videocopilot.net/tutorial/submerged/


3D displacement maps:

Same technique ( Depth map):


3D Text and vector shape extrude:

Advanced:

http://cgi.tutsplus.com/tutorials/real-camera-inner-workings-within-after-effects–ae-21497

http://www.videocopilot.net/tutorials/submerged/

Intro to 3D

Intro to 3d:

Parenting Tutorial:


or if you’re into character animation:


or:


Null object:


Collapse transformation ( Little sun icon):


Extra:


Advanced:


http://www.sternfx.com/tutorials/92

Class Notes – Precomeping, nesting & masks


Pre-composing (precomping) & nesting:

  • Nesting—putting a composition inside another composition
  • Precomping—selecting a layer or multiple layers inside an existing composition that you want to contain in another composition (for organizational or complex animation use)
  • To Precomp, go to Layer > Precompose (Command+Shift+c)
  • When precomping a single layer, you will have two options
  • “Leave all Attributes in current comp”: if the layer has any keyframes/effects, they will remain attached to the newly created composition and not be encompassed inside this composition as part of the precomped layer
  • “Move all attributes into the new composition”: all keyframes and effects will move into the newly created comp and remain attached to the precomped layer

Collapse transformations:Use the “continuously rasterize” symbol (*) to insure that After Effects continues to display vector layers inside nested comps as continuously rasterized when scaled beyond 100% (if you don’t turn this option on, AE will treat a precomped vector layer as a bitmap and pixelate the edges)

Keeping comps organized:Always name your comps and put them in appropriate folders inside your project window! ALWAYS

Masks:

  • To create a mask, make sure you have a layer selected
  • Use the geometric tools or your pen tool to apply the mask shape. Note: When using the pen tool, you must make sure to close the path in order for the mask to work.
  • Keep your masks organized by naming them (select mask, hit Return and type) and changing the mask color (click in the color box and choose from the color wheel)
  • Use mask modes to hide/reveal different areas of the mask (add, subtract, intersect, etc)
  • Use the “Inverted” option when combining multiple masks and mask modes
  • To change the shape of your mask, you can:
  • Use the selection tool to click on individual vector points. Once the vector point is selected, you can click and drag.
  • Shift-click on vector points for a multiple-point selection
  • Double-click on any vector point to create a transform box around the entire shape
  • Select multiple vector points and press Command+t to create a bounding box around your selection
  • Note: When adjusting your mask shape, make sure you have at least one point  selected before dragging. If you simply click and drag,  you might be moving the layer itself, not the mask.
  • Keyable mask properties (click on the “stop watch” symbol next to each property to begin setting keys):
  • Mask Path: adjusts the shape of your mask
  • Mask Feather: adjusts the feathering (blurring) of the mask edges
  • Mask Opacity: control the opacity of an individual mask area (rather than the opacity of the entire layer)
  • Mask Expansion: expand/contract the borders of your mask without changing the Mask Path
  • Shape layers are great for creating ambient, background animations
  • To create a Shape layer, use the geometry or pen tool without having a layer selected.
  • Note: The ancor point of a Shape layer is in the center of the comp, not in the center of the shape you create.
  • You can apply multiple shapes to one shape layer (once you create a shape layer, make sure you have it selected before using the geometry/pen tool to create a new shape)
  • Note: Having multiple shapes on one shape layer will allow you to apply one set of property keyframes to both shapes, saving you time and creating better layer organization
  • Keep your individual shapes organized by renaming (select the shape name, hit “Return” and type)
  • Shape layers (similar to Illustrator) have an independently adjustable fill and stroke
  • The most powerful way to use a shape layer is to animate “Contents”(not “Transform Properties”):
  • You can explore the basic Contents properties and apply animation to any that have the “stop watch” symbol
  • Shape layers allow you to apply a wide range of deform effects using the “Add” menu to the right of “Contents”
  • You can apply these deform animations to all shapes on the shape layer or to individual shapes
  • All shapes: have “Contents” selected when using the “Add” menu
  • Individual shapes: have the desired shape selected when using the “Add” menu

Class 04 – Layers, Parenting and Comps

Importing Photoshop layers:
  • Footage gives you an option to import the psd file as a flat image or choose a specific layer
  • Composition–Document Size will import your photoshop layers as separate AE elements and automatically combine them into a comp, preserving original layer positions. All layers will be the size of your photoshop file and have the same anchor point/position values.
  • Composition–Preserve Layer Size will import photoshop layers in the same way as the above option, but will size each layer according to its actual pixel dimensions. With this option, each layer will have a different anchor point/position value. For complex animations, I recommend this import option.

Most Important tutorial for this class – Precomps:


Motion Sketch

Parenting
  • To parent layers (or a group of layers) to another layer on the timeline:
    • select the child layer(s)
    • use the @ icon in the Parent column (to the left of the layer name) to drag and drop over the parent layer
    • OR select the parent layer name from the drop-down menu in the Parent column
Null objects ( null layers) & Parenting tutorial

http://tv.adobe.com/watch/learn-after-effects-cc/using-shape-tools-to-make-masks/

Only for the newest After Effects  Version ( CC June 2014)

Effects Masks:

Shape layers and precomping:


Working with Bitmap files (Photoshop)
Bitmap (pixel-based) files can’t be scaled above 100% without quality loss. When working with a Photoshop file and planning to scale the asset, make sure to build it at dimensions larger than the composition size. For example, if your comp size is 1920 x 1080, and you are planning to scale an object about 300%, build it at about 6000 pixels wide (1920*3).