Class 08 – 3D Camera Tracking

Inspiration:


3D Camera Tracking Tutorials:

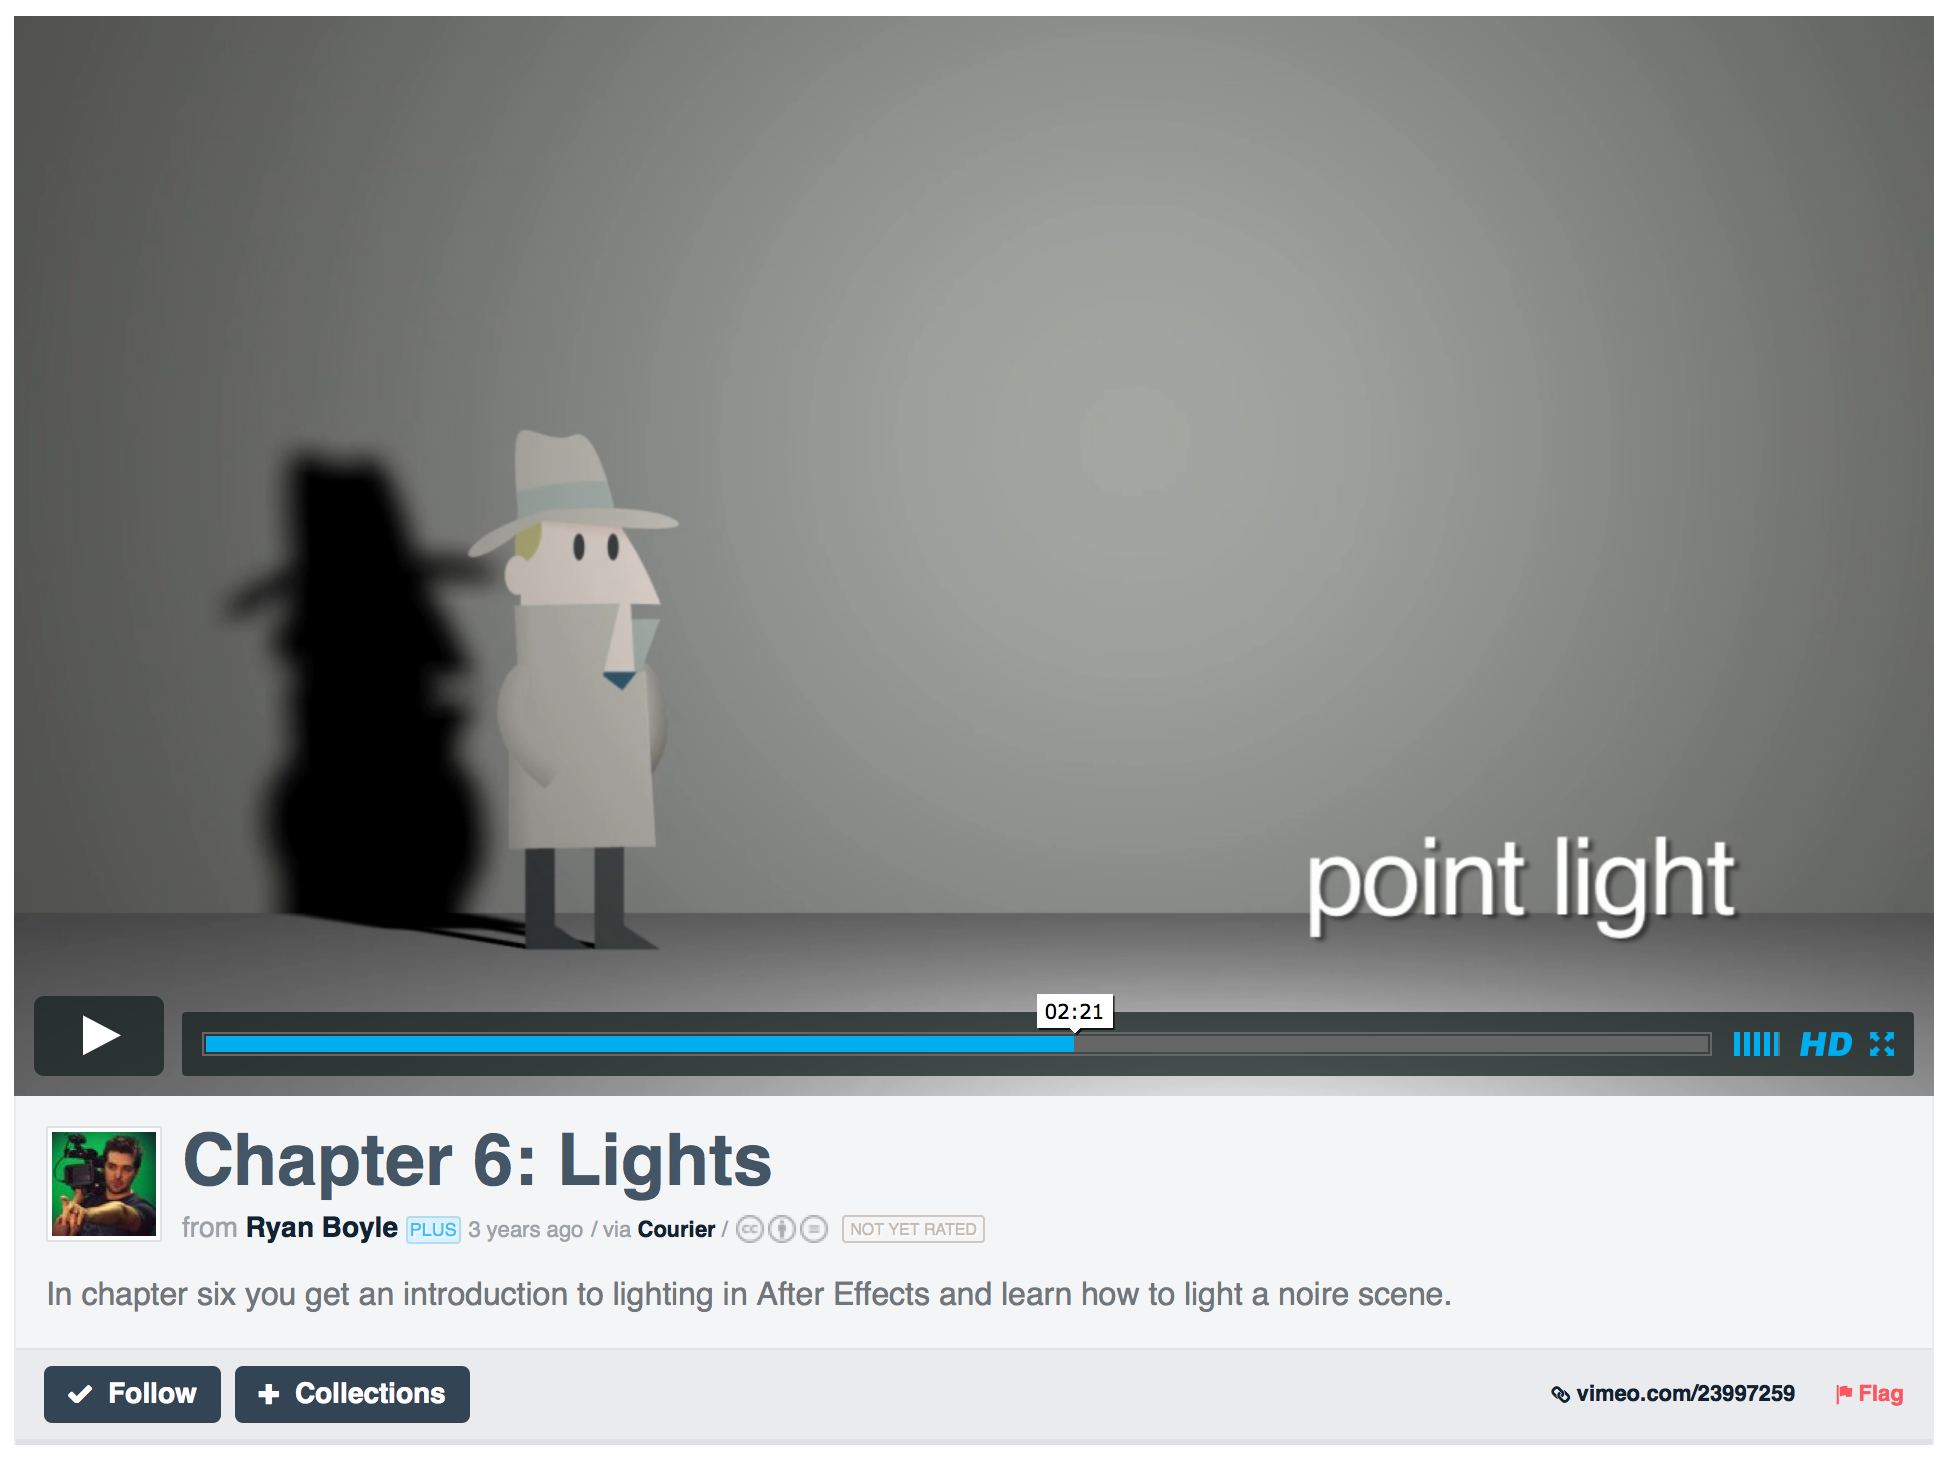
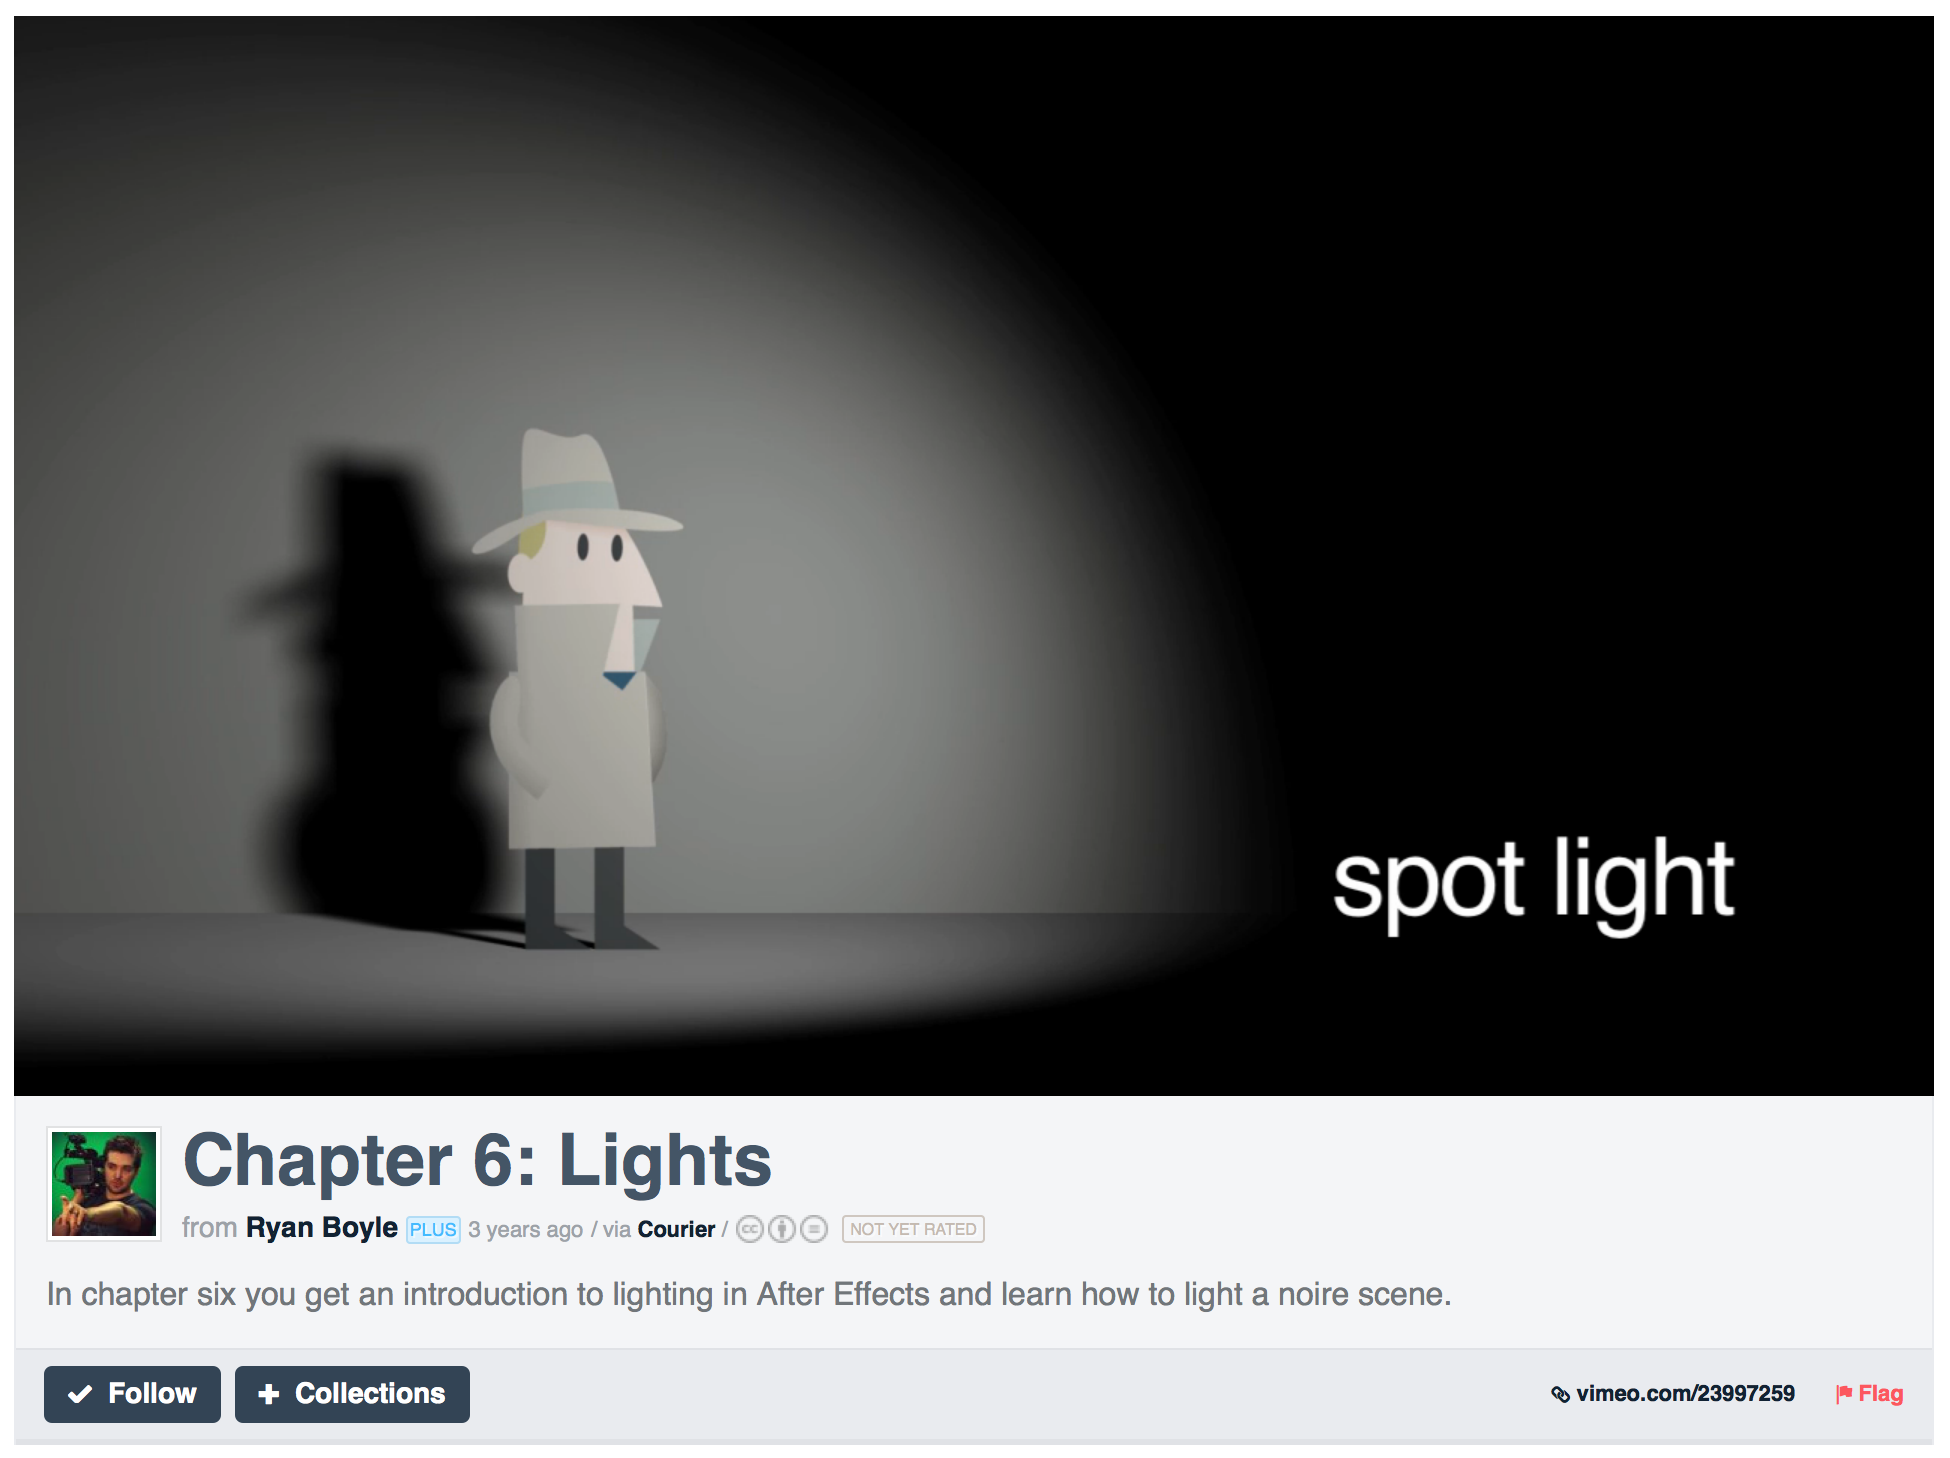
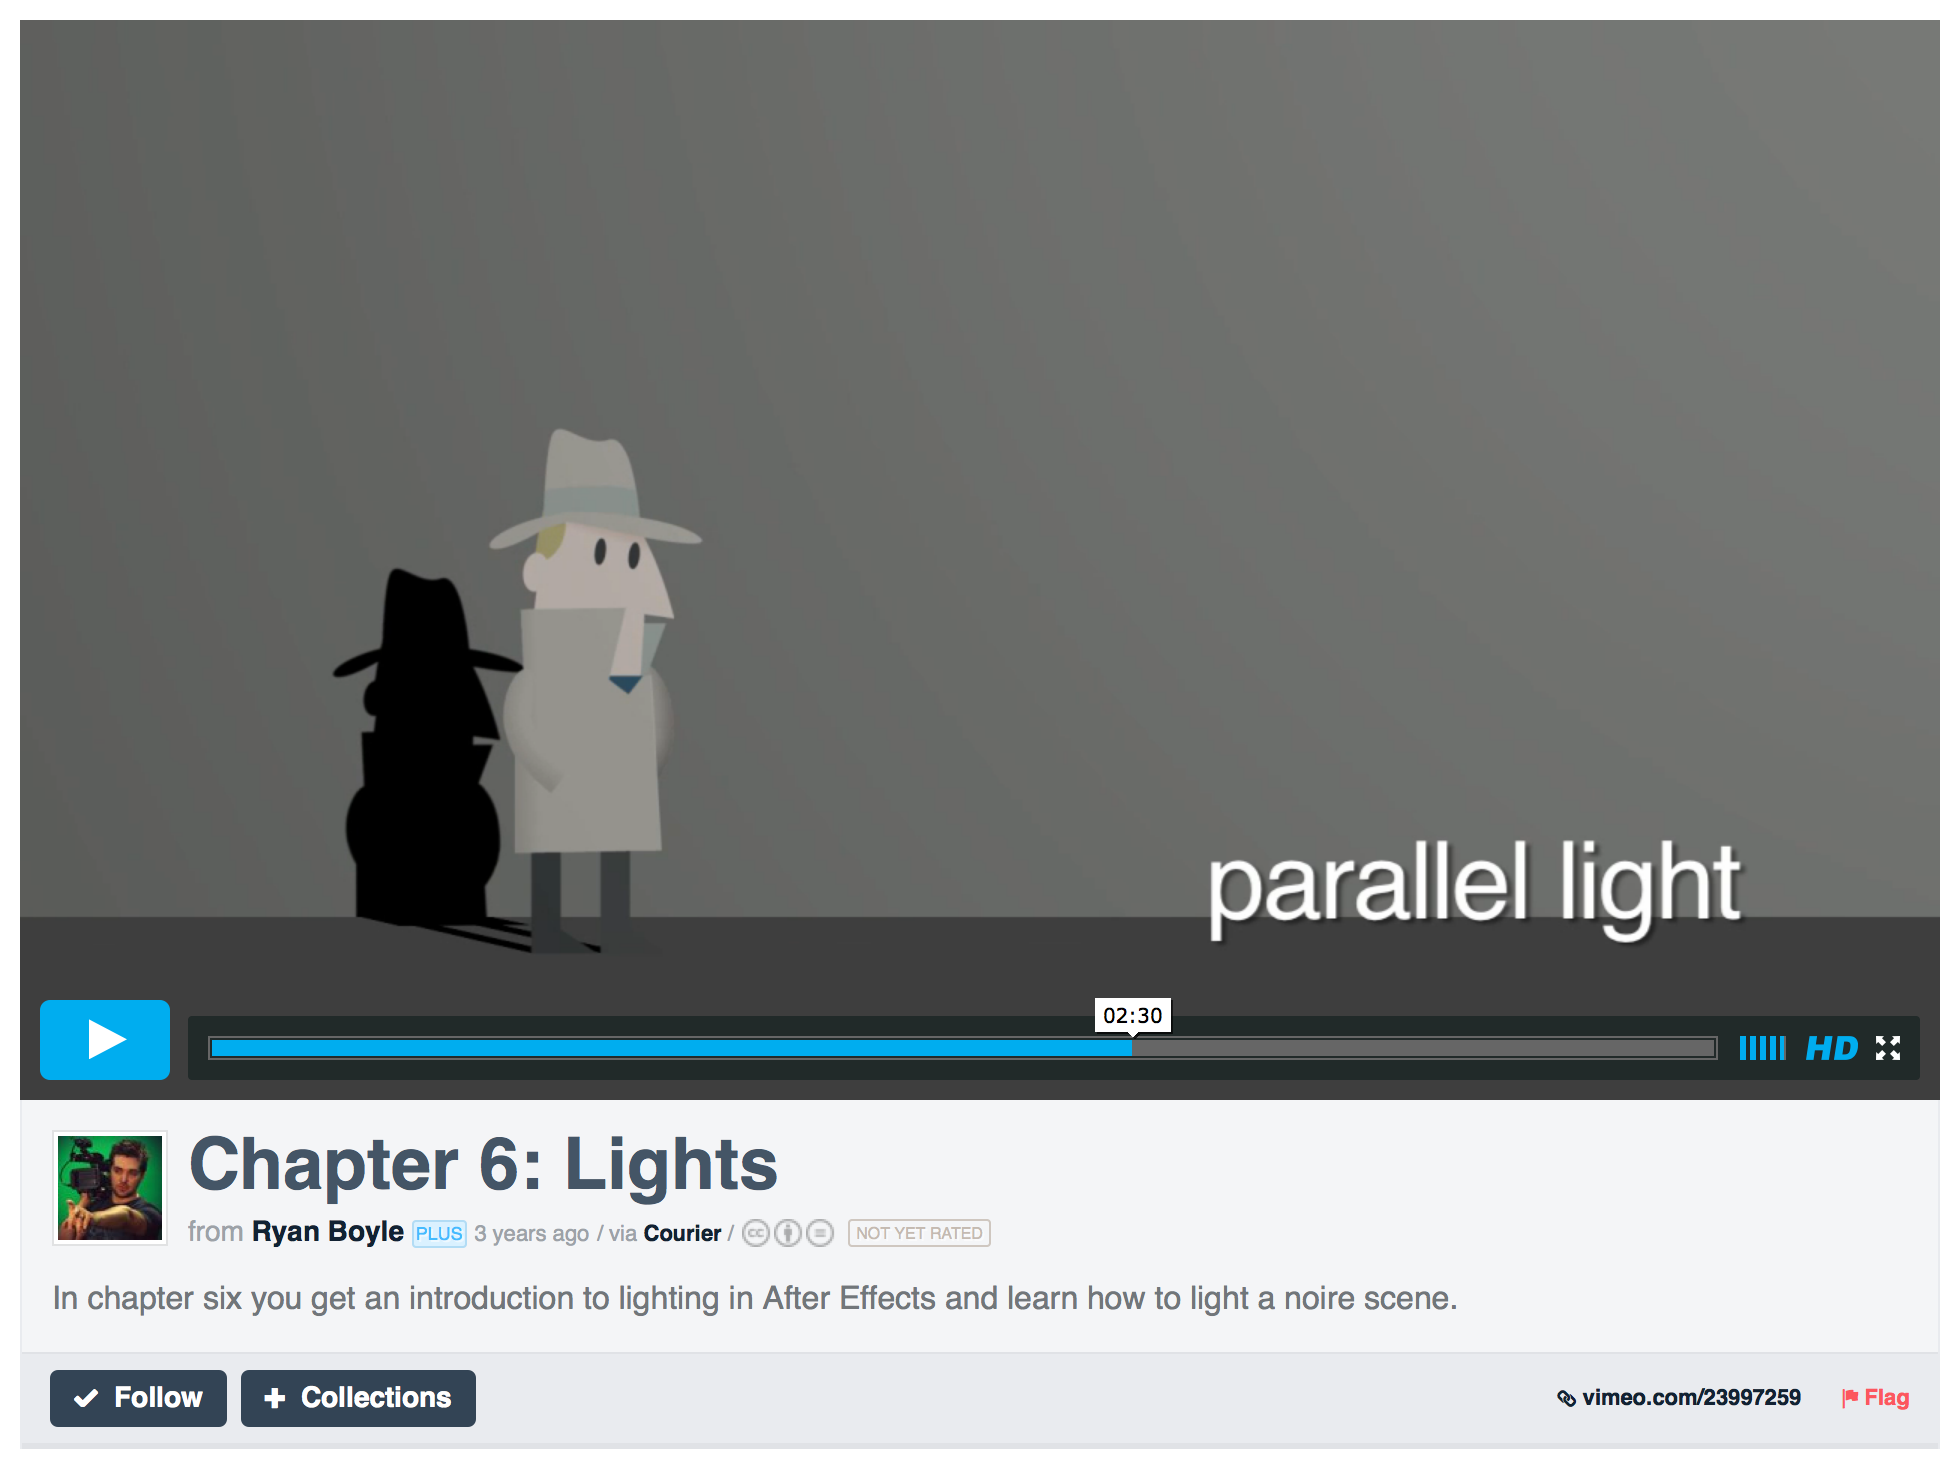
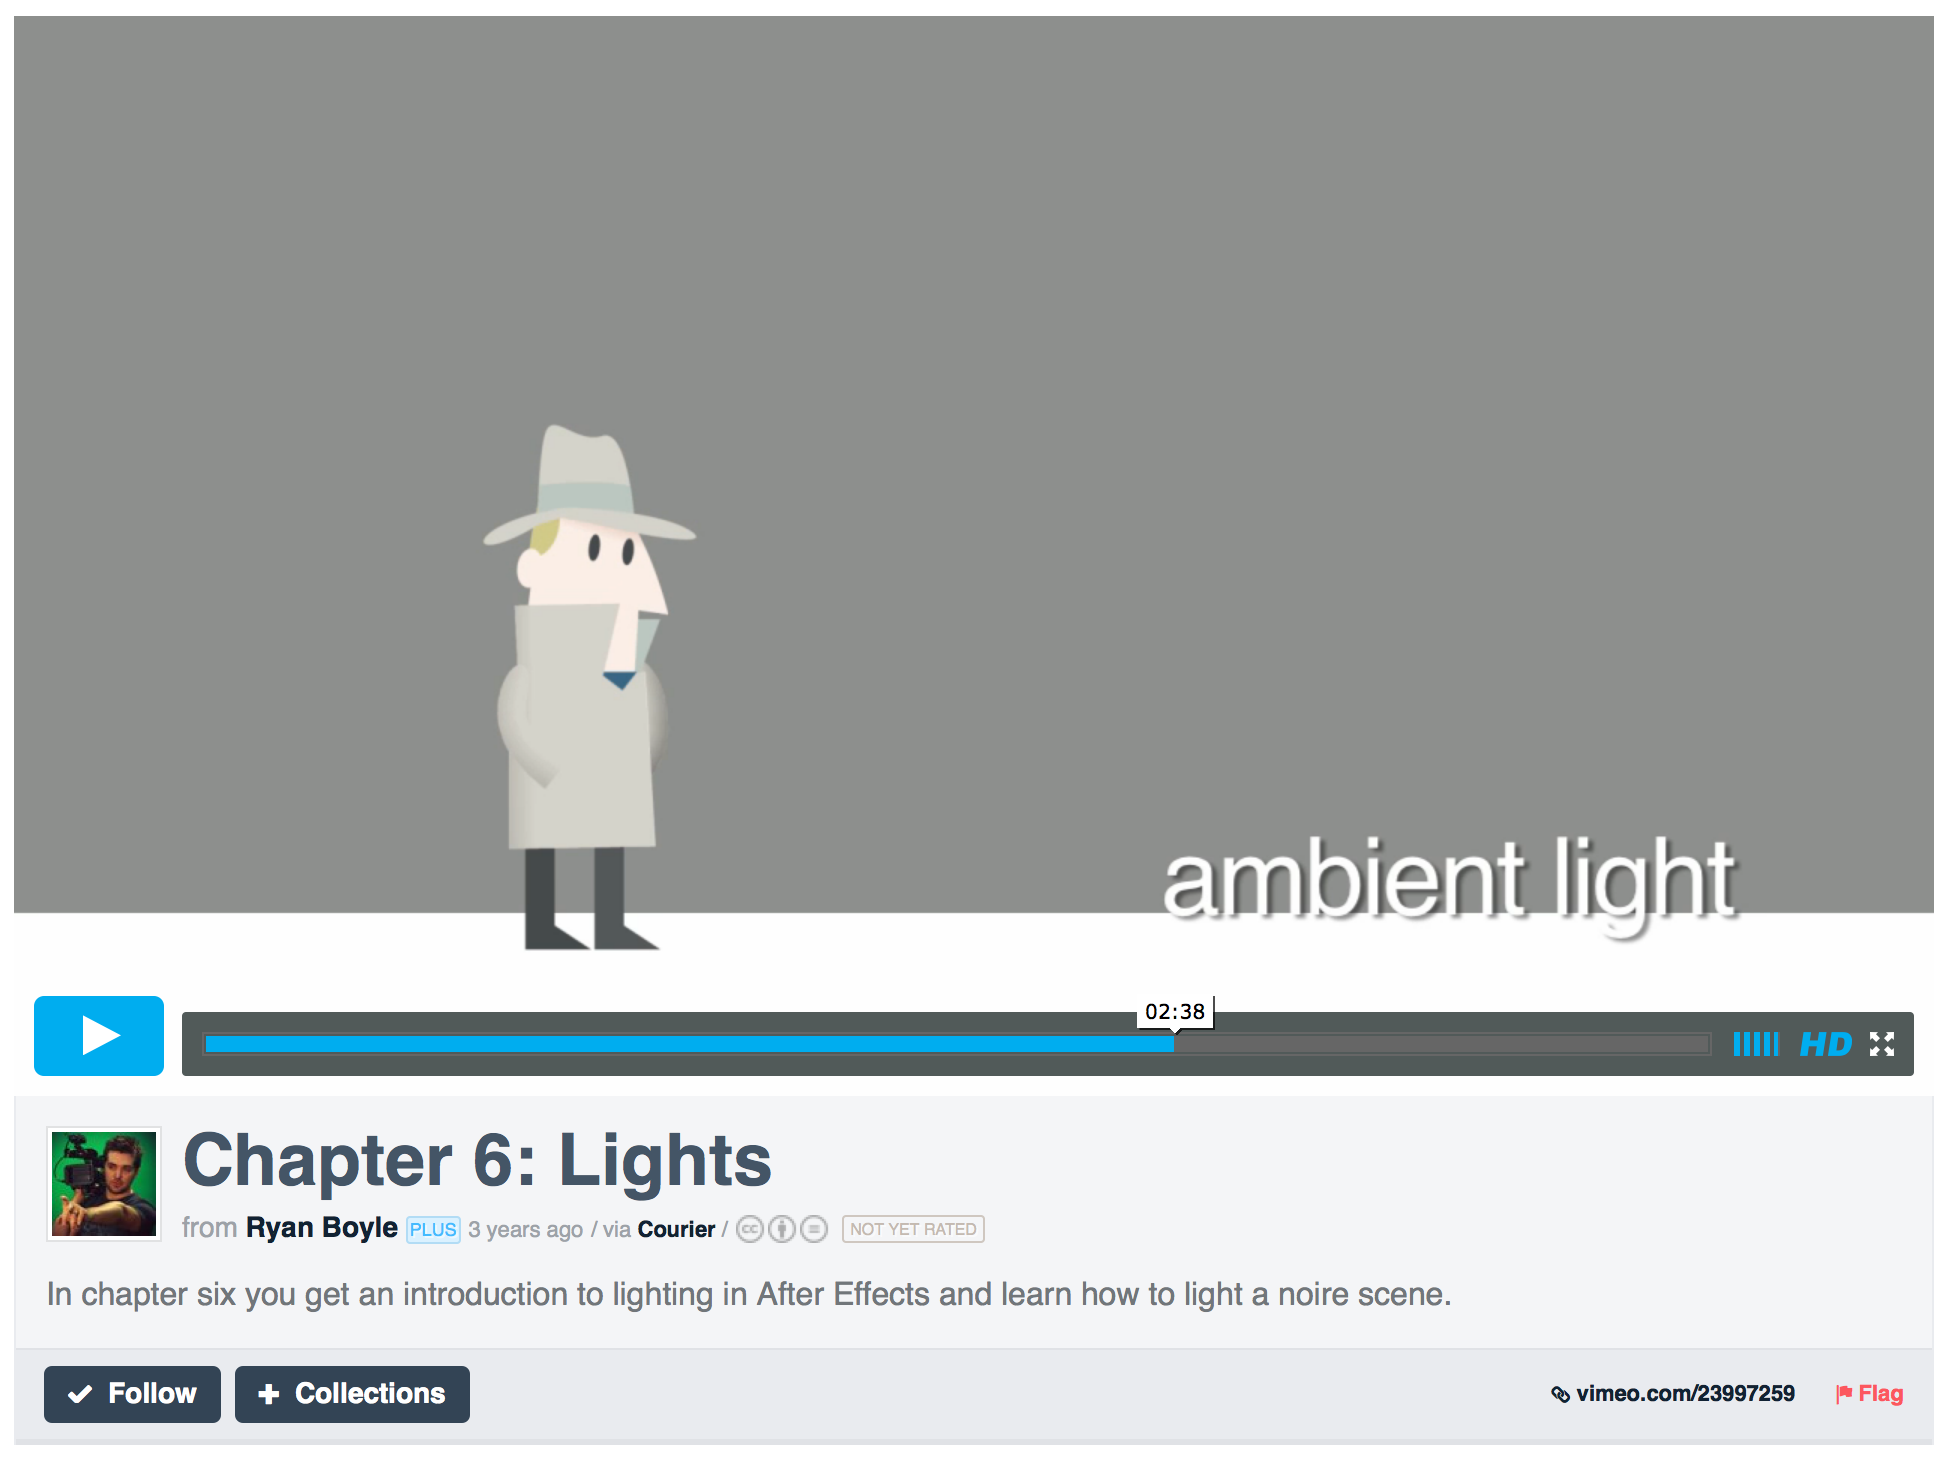
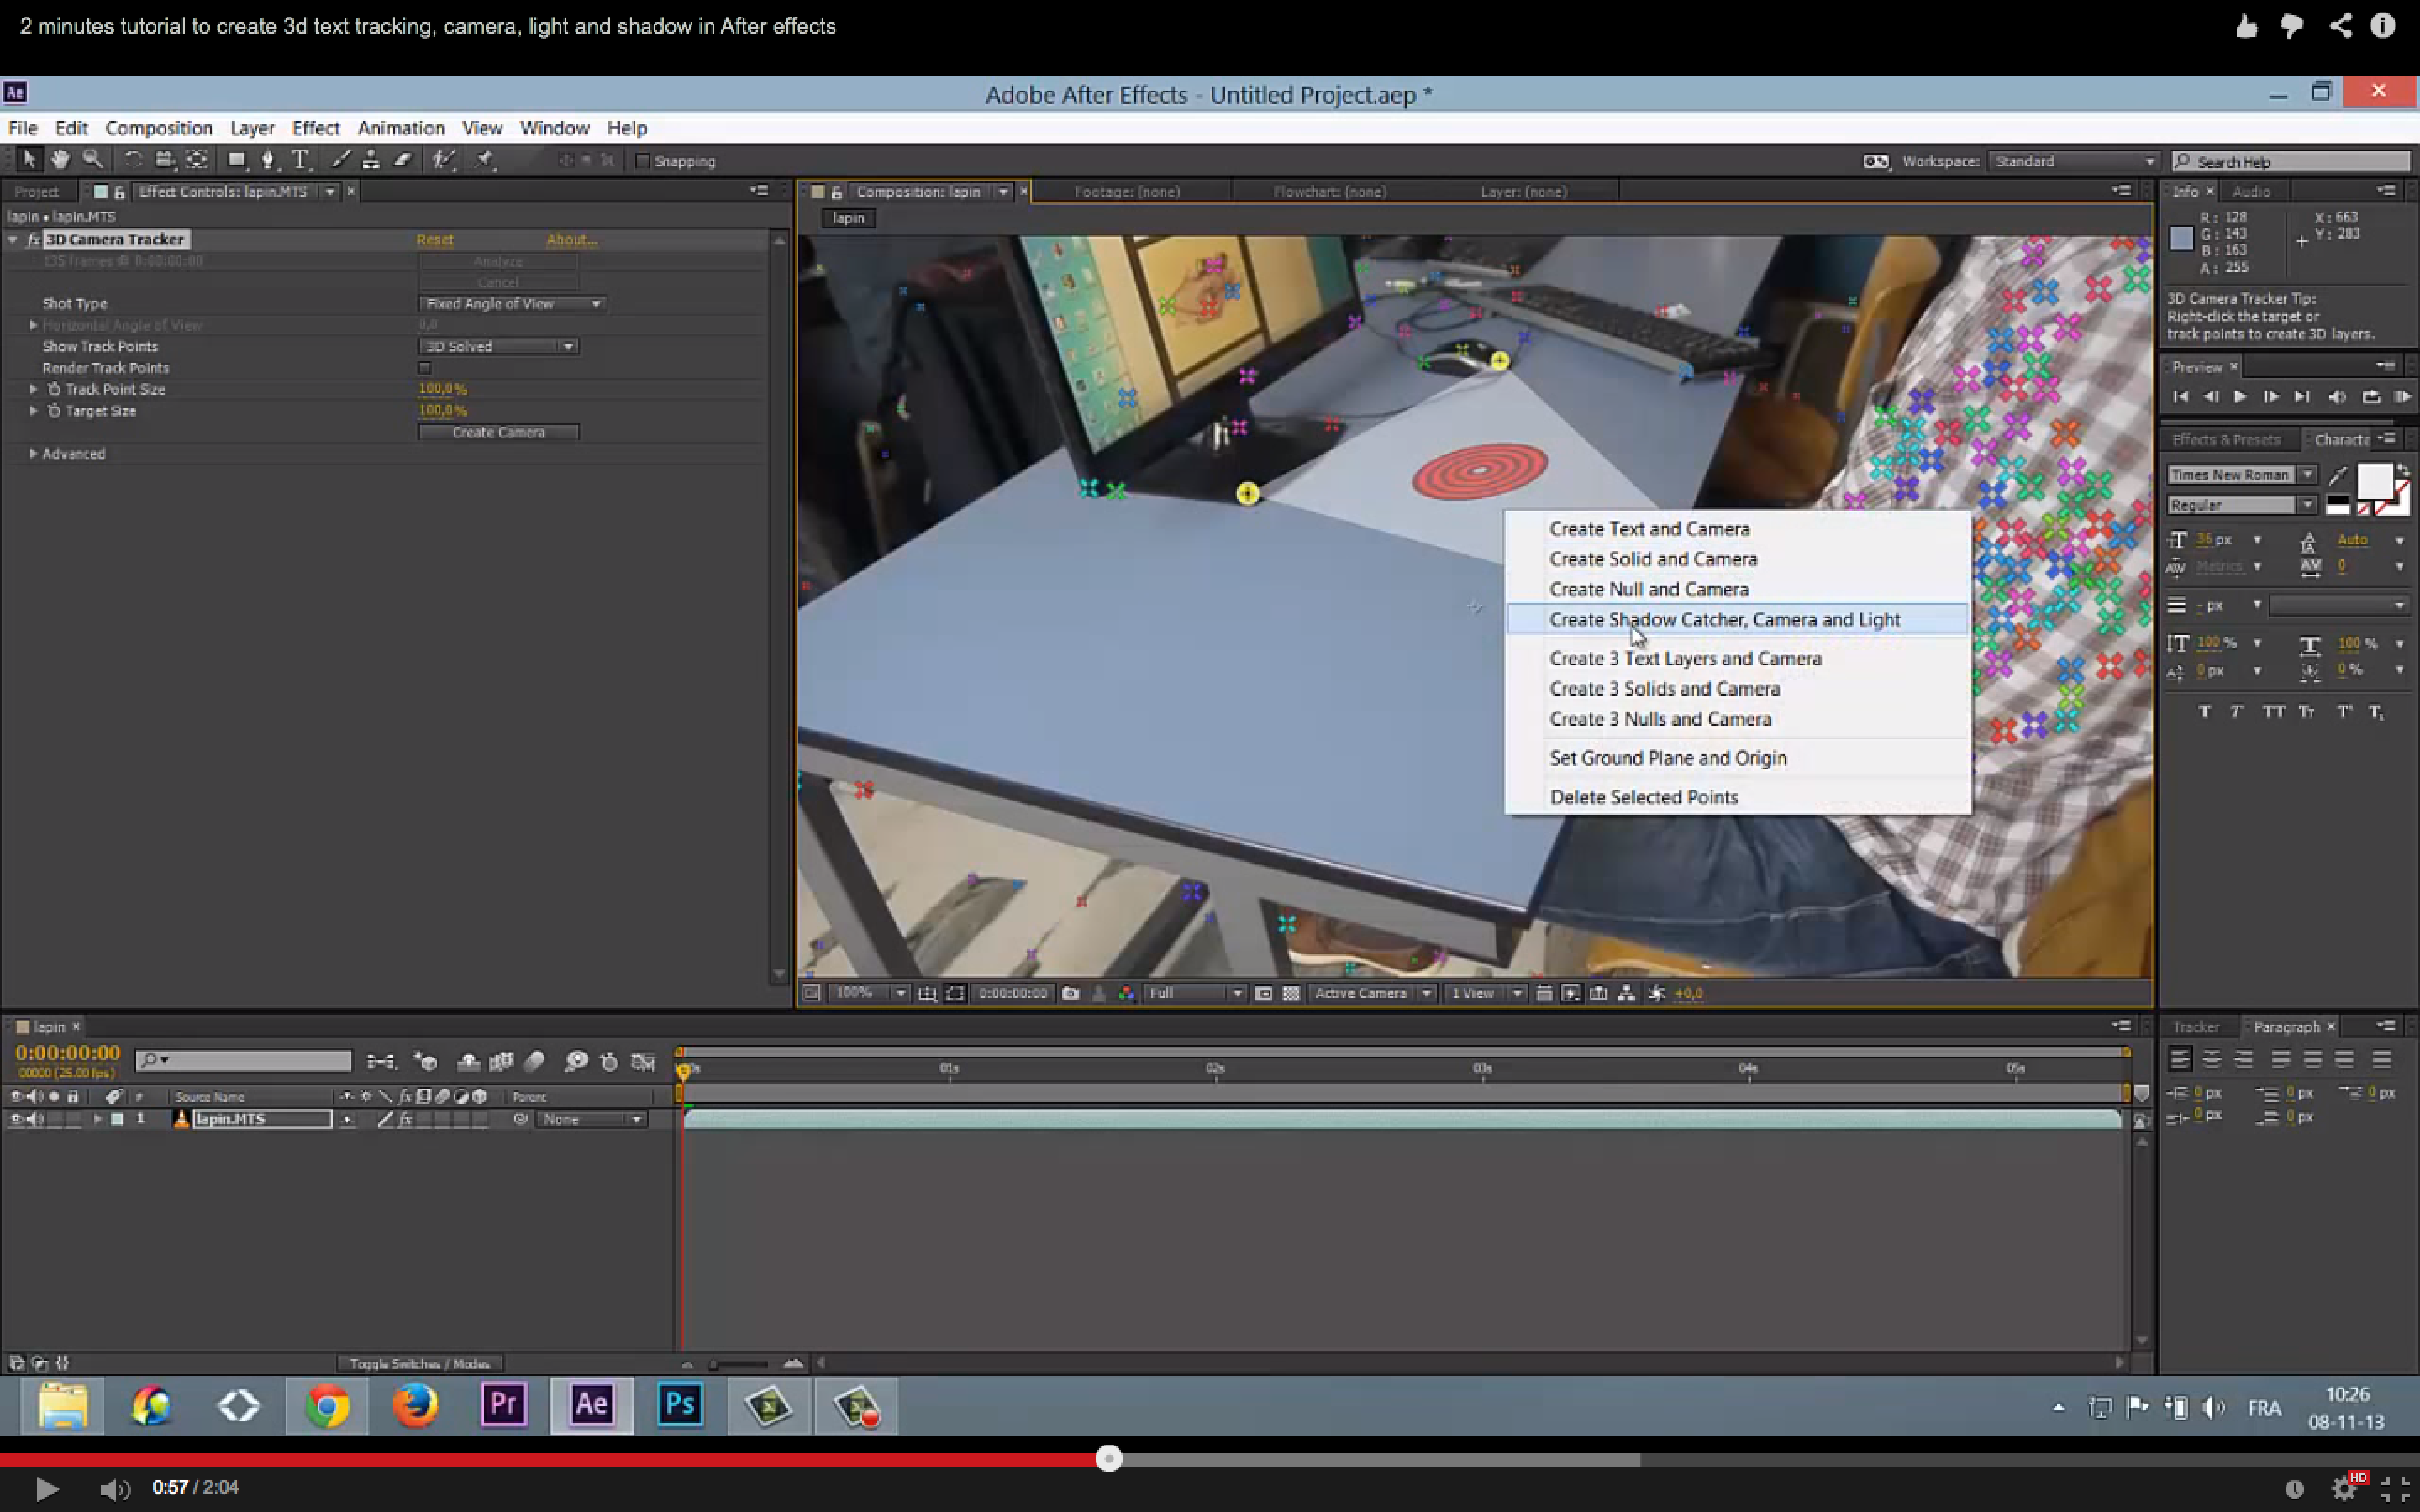
Fast 2 minutes overview – including shadow catcher and lights:

Here is a frame from the video to show how to create a shadow catcher and light:

Screen Shot 2014-10-27 at 9.13.10 PM

In-depth tutorial:

Mask out element to look like they are behind:


Masking out people from the frame to help solve camera:

http://tv.adobe.com/watch/no-stupid-questions-with-colin-smith/after-effects-advanced-3d-camera-tracker-for-hard-to-track-clips/

http://tv.adobe.com/watch/learn-after-effects-cs6/3d-camera-tracker/


Assignment – 3D scene animation

This is a 2 weeks assignment .


Theme: Wonderland
  • (As an alternative to “Wonderland” – You can also continue your character animation and create a 3d environment for it)

Design and animate a 3D environment with characters under the topic of this assignment – it’s open to your personal interpretation.

Design : you can use illustrations, collage of photos,  or any other technique. Create a world that you can animate your camera in.

Use After Effects lights / shadows/ music /  sounds and any other technique that we covered to support your concept.

Length: 15 – 20 seconds


Due by:

Draft 01:

October 26, Monday, 10am

First draft of animation.

Final:

November 2nd, Monday, 10am

Please submit Vimeo links.


lesson 06 – 3D Camera ( part 01)

Here is What we covered in today’s class:

AE Cameras:

In order to enable 3D for a layer – you have to check the following box:


Subjects we’ll cover next week:

Focal Distance:

Auto focus expression (advanced):

http://motionscript.com/design-guide/auto-focus.html

Lights:

Screen shots from the video above:

Screen Shot 2014-10-20 at 1.53.10 AM Screen Shot 2014-10-20 at 1.53.21 AM Screen Shot 2014-10-20 at 1.54.28 AM Screen Shot 2014-10-20 at 1.54.45 AM

Materials:

 http://tv.adobe.com/watch/learn-after-effects-cc/introduction-to-3d-material-options-environment-layers/


Here are a couple of other advanced techniques to build a 3d scene:

Vanishing point:

( Thanks Hyo Bin for this tutorial)


Camera Mapping:

 http://www.videocopilot.net/tutorial/submerged/


3D displacement maps:

Same technique ( Depth map):


3D Text and vector shape extrude:

Advanced:

http://cgi.tutsplus.com/tutorials/real-camera-inner-workings-within-after-effects–ae-21497

http://www.videocopilot.net/tutorials/submerged/

Real 3D in After Effects

After Effects is slowly shifting from a 2.5D environment( Flat surfaces distributed in 3D space)  to a platform which supports importing 3D models.

After Effects gives you the option to extrude shape layers and text layers.


Currently – these are 2 options for  full 3D models in AE:

Built in 3D integration between After Effects and Cinema 4D:

This Means that you also have to own Cinema 4D ( Students get free license) but all of the animation is done in Cinema 4D.

https://www.youtube.com/watch?v=YJ0Z7iI7oXA

https://helpx.adobe.com/after-effects/how-to/insert-objects-after-effects.html

External Plugin – Element 3d (Paid – $199):

With Element 3D – ALL of the animation is done within After Effects:

https://www.videocopilot.net/products/element2/

Assignment 04 – Rock Star Animal

DESCRIPTION:

Design and animate your own rock star animal.

f8bf7179b1ac3a575b173da3bd6da898

The purpose of this assignment is to learn how to use a whole body as a tool for expressing emotions through motion.

Length: 5 seconds ( however please feel free to exceed ).


Part 1 ( Monday, 10/05/15, 10am)

Using images (png/jpegs/psd) and AE masks,

Students will design and prepare a character for animation.

See this example but design everything without vectors.

DELIVERY SPECS

AE file with all graphics ready for in-class animation


Part 2 (Monday, 10/12/15, 10am)

Create a short character animations using one of several simple character rigging techniques we’ll cover in class.

DELIVERY SPECS

  • HD video (1920×1080 or 1280×720)
  • Your preferred frame rate (24, 23.976, 29.997, 30 etc.)
  • no less than 5 seconds long

Class 05 – Masks, Parenting and Comps

Inspiration


Shape layers expanded:


Trim Path (Draw on effect) :


This was our pets reference for today:

https://www.pinterest.com/johnnyhorshack/rockin-animals/


Most Important tutorial for this class – Precomps:


Parenting

If a child needs to cross a road, he reaches out his hand to a parent.

This is the same with AE layers:

You always connect the “child” layer to the “Parent” layer.

Wherever the parent moves – the child moves.


  • To parent layers (or a group of layers) to another layer on the timeline:
    • select the child layer(s)
    • use the @ icon in the Parent column (to the left of the layer name) to drag and drop over the parent layer
    • OR select the parent layer name from the drop-down menu in the Parent column


http://tv.adobe.com/watch/learn-after-effects-cc/using-shape-tools-to-make-masks/


Character animation:


ALON CHITAYAT